The Chod Rig is one of the basic carp rigs every modern-day carp angler should have in his tackle box. Understanding the ins and outs of the Chod Rig can significantly improve your success on the water. In this post, we'll delve into the essentials of the standard Chod Rig, unlocking its potential in fishing situations where weed, silt, or chod aren't too challenging. Picture a lake 6ft-8ft deep with 2ft of weed growth—here, your 3ft length of leadcore/leader becomes the key to a perfectly presented rig. So, let's dive in and unravel everything you need to know about the Chod Rig.
What is a Chod Rig?
The Chod Rig is known for its versatility and effectiveness in fishing over weedy or debris-strewn lake beds. The term chod actually refers to all the leaf matter and debris on the bottom of a lake. The Chod Rig is a specialized carp fishing rig used to present bait effectively in fishing areas that feature weed, leaves, branches and other debris.
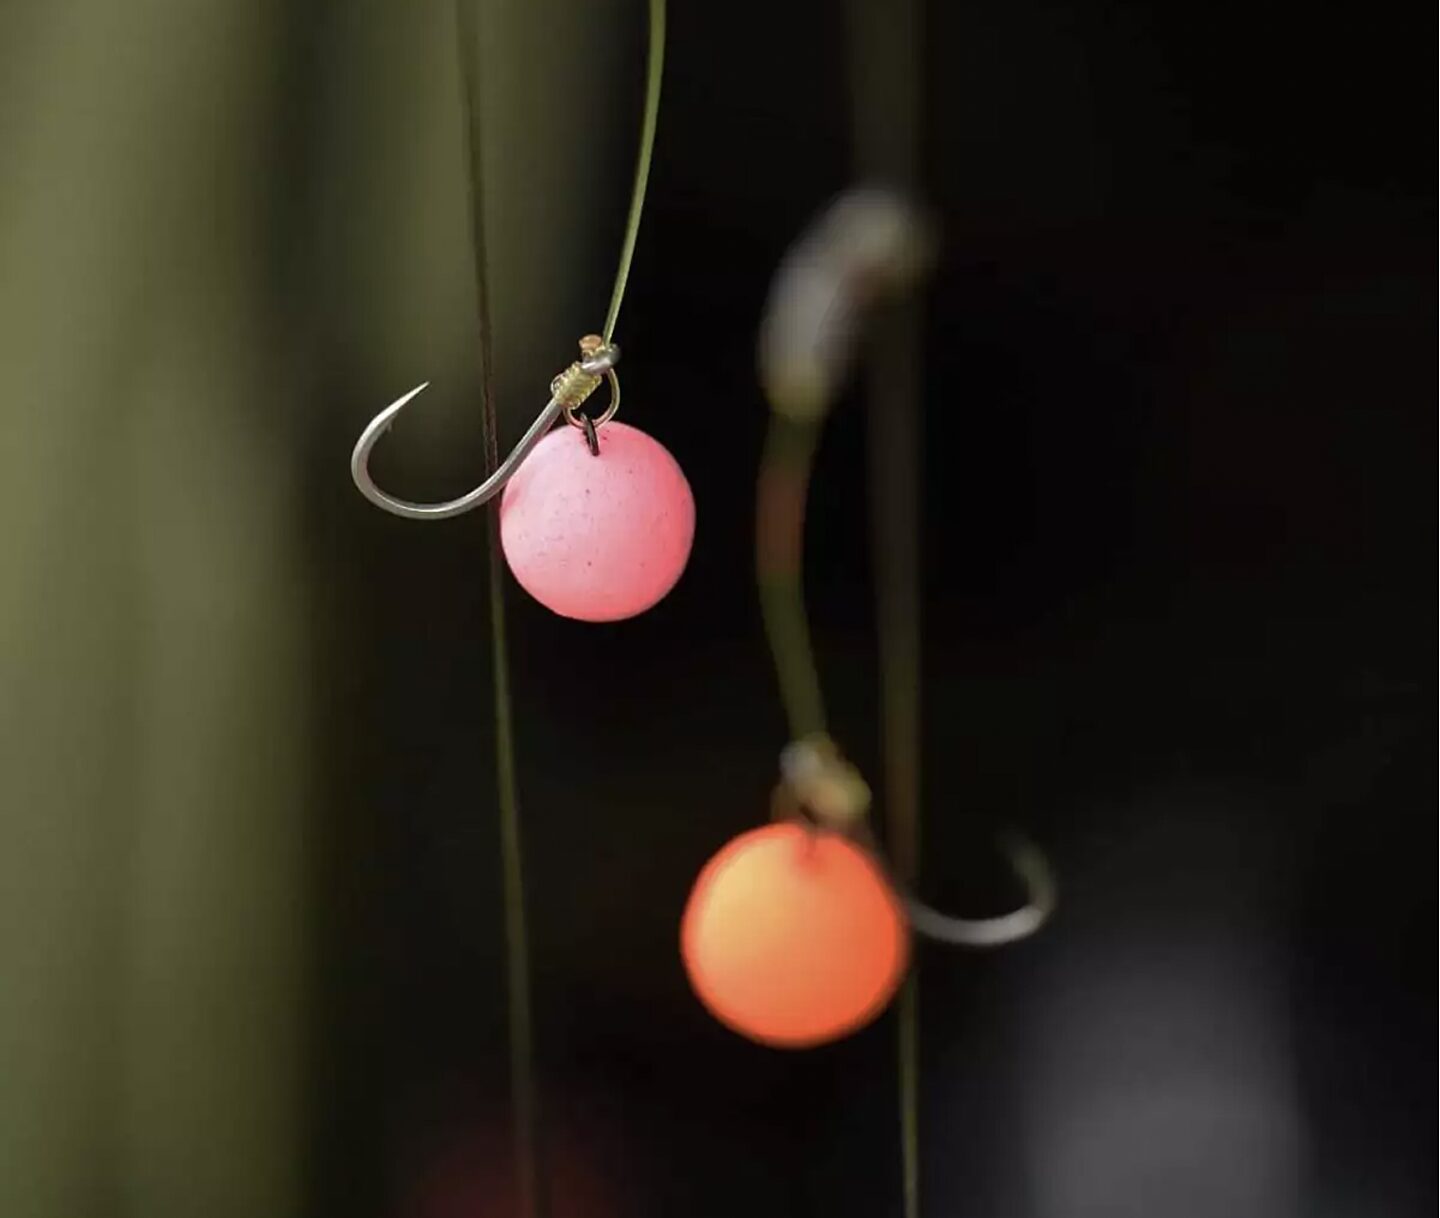
The key components of a Chod Rig typically include a short, stiff hook link, a pop-up bait, and a hook designed for this rig. The rig is characterized by a short length of stiff monofilament or fluorocarbon line, usually around 6 to 8 inches (15 to 20 cm). This stiff section helps the rig to sit above any debris or weed on the lake bed.
The pop-up bait is buoyant and is usually mounted on the hook, positioned above the stiff section. This allows the bait to hover just above the lake bed, making it more visible to carp and less likely to become tangled in weeds or debris. The buoyancy of the pop-up also helps the rig to reset itself if a carp sucks up the bait and blows it out.
How does the Chod Rig Work?
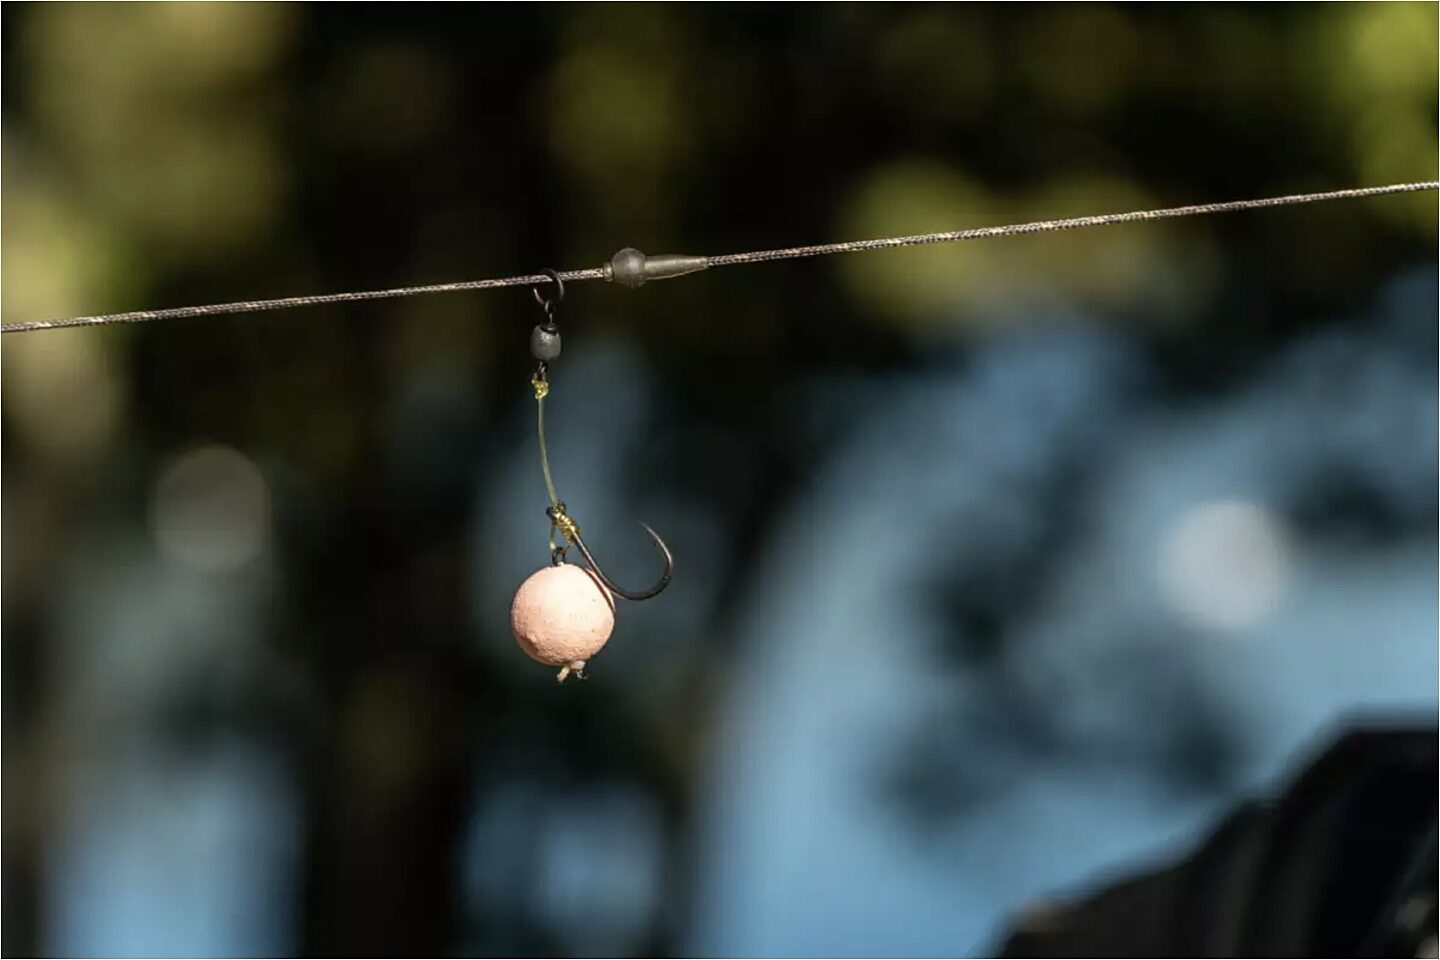
After casting the Chod Rig, the lead sinks to the bottom while the hooklength ascends along your line/leader. Once the lead reaches the bottom, the baited rig descends gradually until it encounters the first obstacle, such as weed or chod, at which point it settles and begins fishing. The pop-up will hover just above the lake bed, making it more visible to carp and it won't get tangled into weeds or debris.
Other popular rigs
- Ronnie Rig
- Zig Rig
- Pop-up Rig
How to tie a Chod Rig?
Tying a Chod Rig involves a series of steps to create a setup that effectively presents bait over weedy or debris-covered lake beds. Here's a step-by-step guide to tying a Chod Rig:
Materials Needed:
- Chod Rig Leader (pre-made or leader material)
- Chod Rig Hook
- Chod Bead
- Bait Screw
- Rig Ring
- Stiff material for the hook link (like fluorocarbon or stiff monofilament)
- Bait (usually a pop-up bait)
Step 1: Cut the Leader Material Cut a length of Chod Rig leader material to your desired length, typically around 3 to 4 feet (90 to 120 cm).
Step 2: Attach Chod Bead Slide the Chod Bead onto the leader, ensuring it's at the end. This bead will help create the desired curve in the rig.
Step 3: Add the Rig Ring Thread the leader through the Rig Ring, and then tie a loop knot or use a figure-eight loop knot to secure the Rig Ring in place. This is where the hook will attach later.
Step 4: Attach the Hook Using a knotless knot, tie the Chod Rig Hook to the leader material, ensuring that the hook point is facing upwards when finished.
Step 5: Create the D Loop Form a D-loop by creating a loop in the leader material above the hook. This loop will hold the pop-up bait.
Step 6: Add the Bait Screw Slide the Bait Screw through the loop created in the D, making sure the bait screw exits on the same side as the hook point.
Step 7: Mount the Bait Mount the chosen pop-up bait onto the Bait Screw. Ensure the bait is securely fastened.
Step 8: Set the Curve Slide the Chod Bead down the leader to the desired position, creating the curve in the rig. This helps the rig reset itself if a carp blows out the bait.
Step 9: Trim the Tag End Trim any excess leader material tag end, leaving a neat finish.
Step 10: Test and Adjust Test the Chod Rig in water to ensure the desired buoyancy and presentation. Adjust the length of the hook link or the curve as needed.
Remember, practice makes perfect, so take your time and ensure each step is done accurately for an effective Chod Rig.